Example #
Step 1 - Create some default Tasks #
Tasks are used to define the steps of a project. They help to break up long projects into smaller, more manageable pieces.
You can create a set of default Tasks so that it makes it easier to configure them across different projects.
You will only need to add default Tasks once. After that, you will be able to use across all your projects. However, you can come back and add more Tasks as needed.
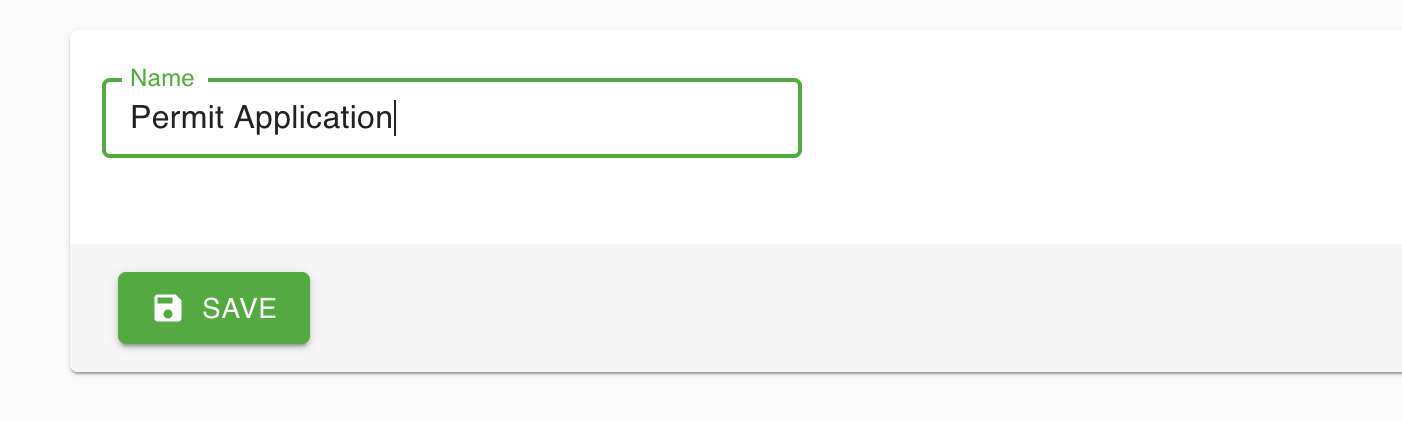
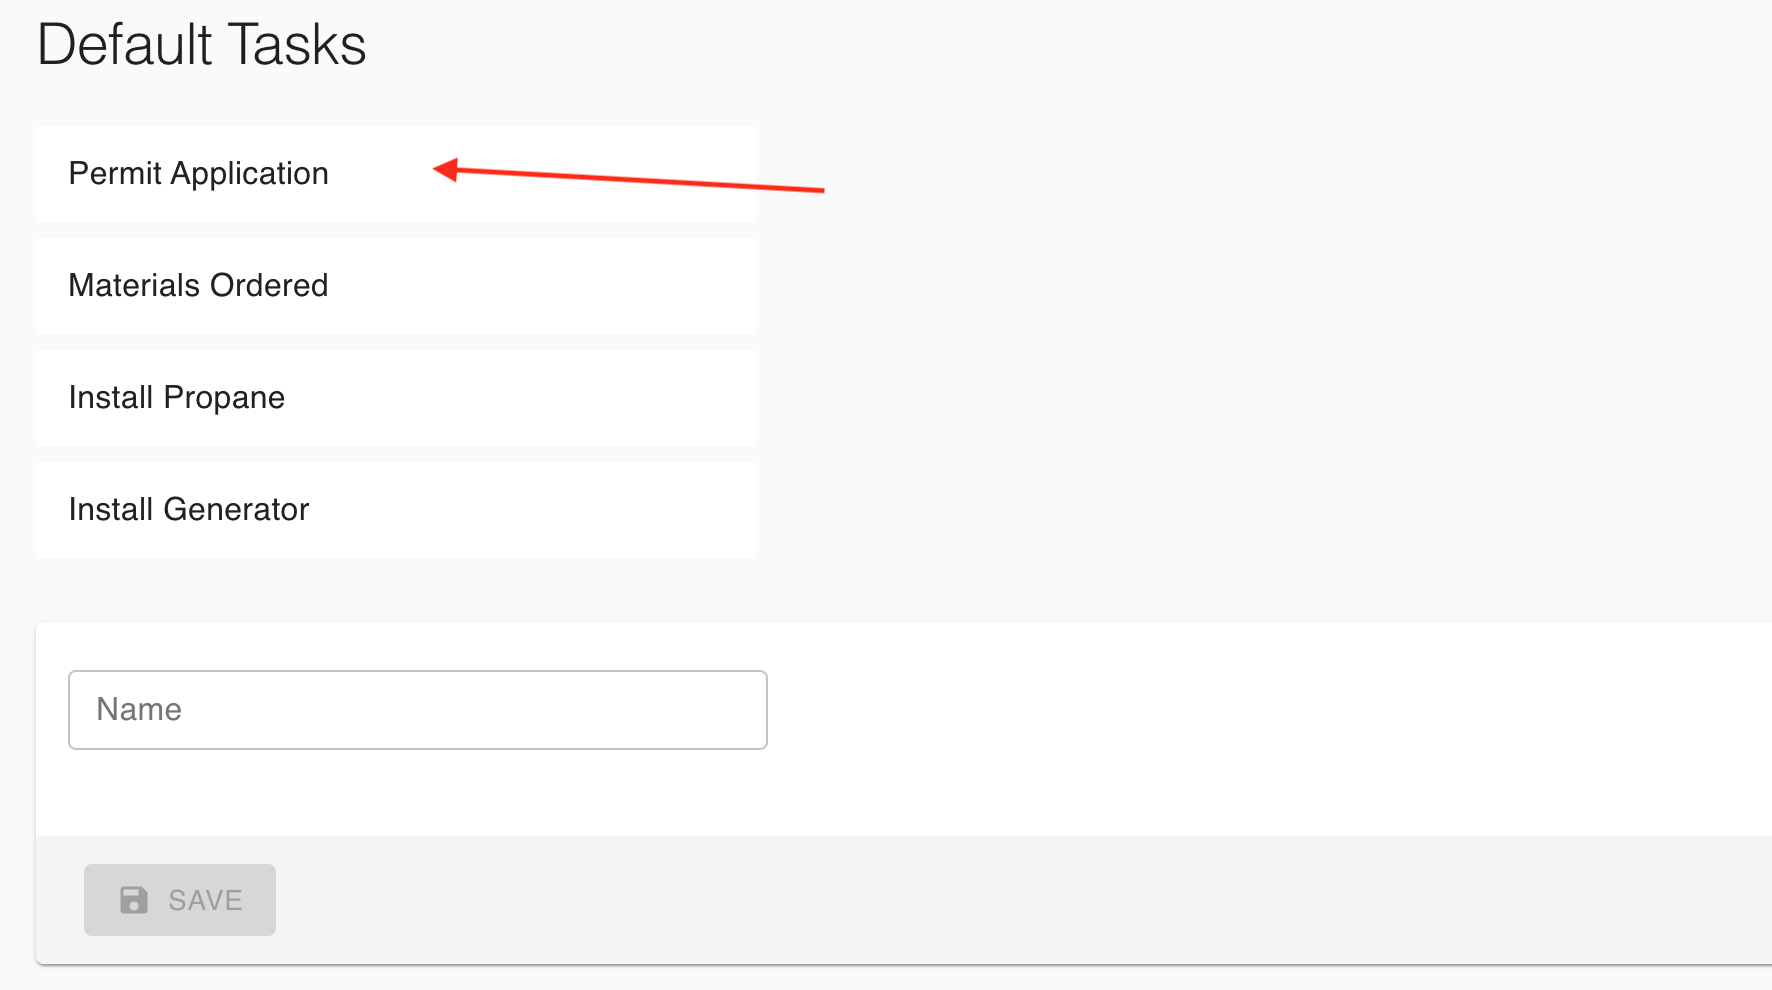
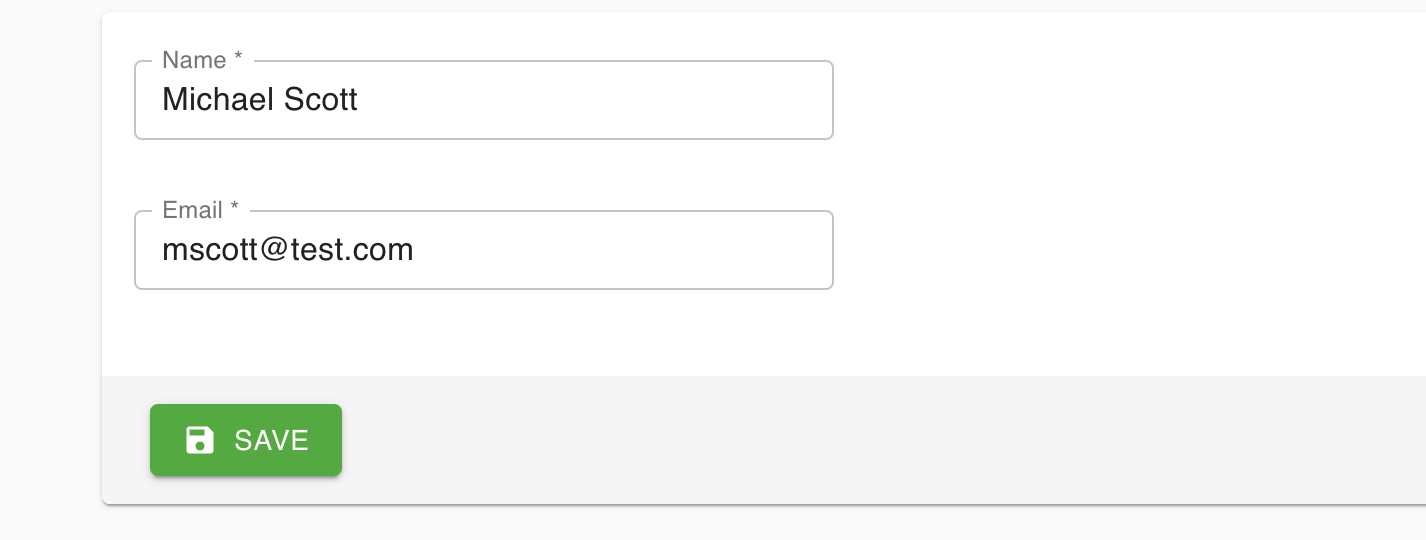
- Go to the Settings page and add a new task to the
Nameinput field, then clickSAVE
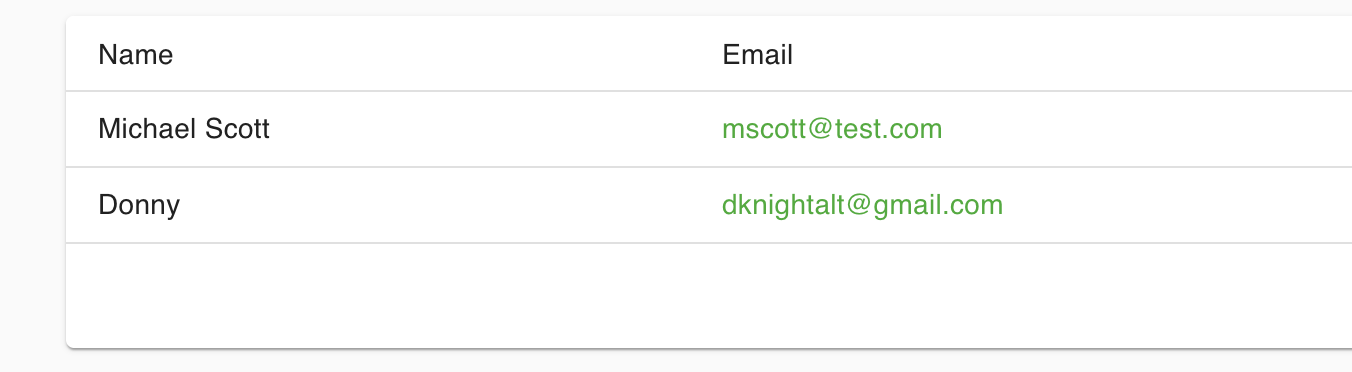
- The new Task will be shown in list
Step 2 - Create a Customer #
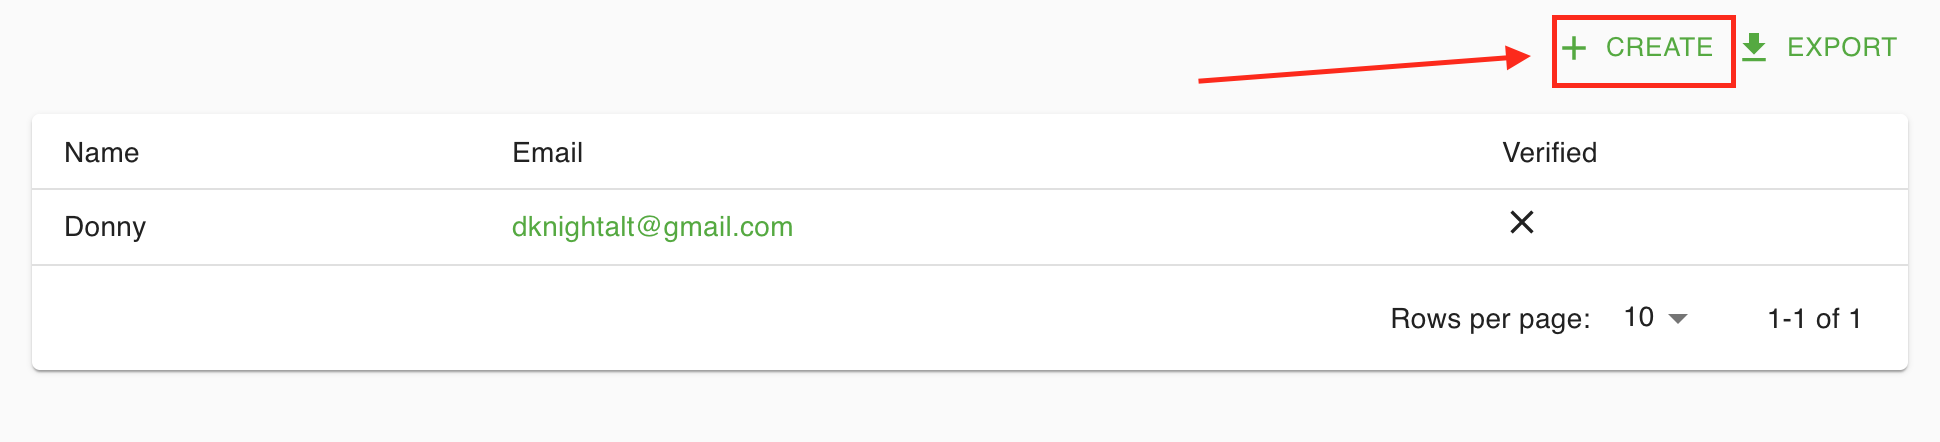
- Select the
CREATEbutton on the Customers page
- Fill out the form with the Customer’s full name and email address and click
SAVE
- After saving, the Customer will be shown in the Customer’s list
Step 3 - Create a Project #
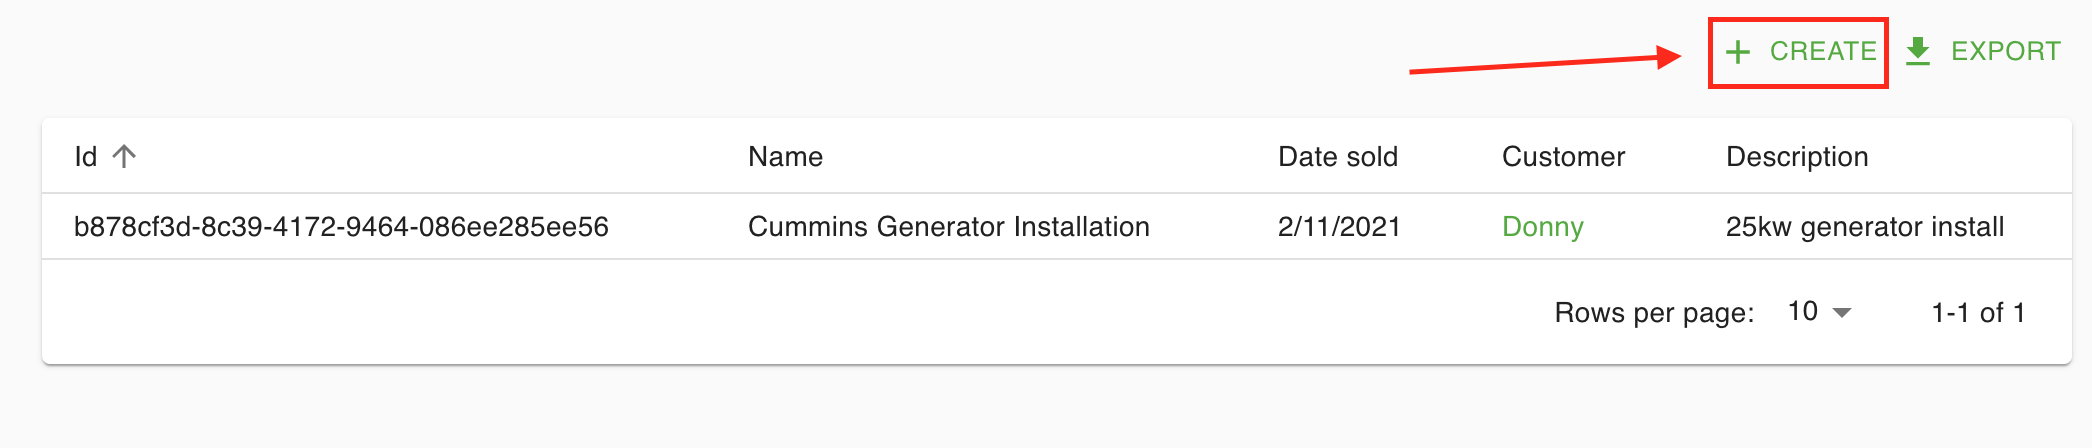
- Select the
CREATEbutton on the Projects page
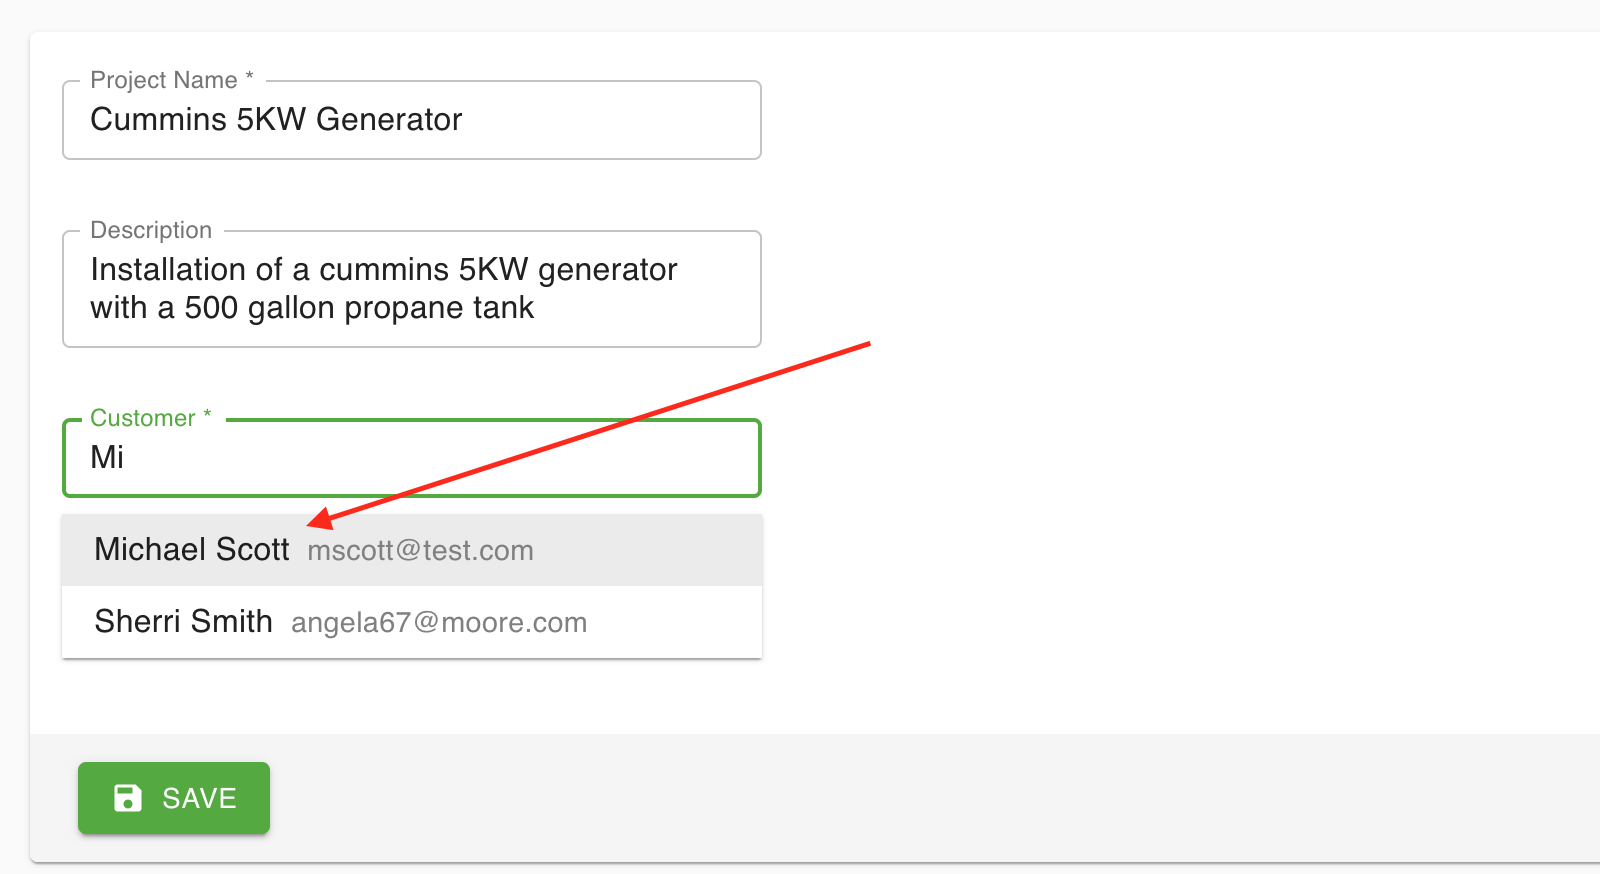
- Fill out the project information and use the customer search input to find the owner of the project.
- The new project will now be shown in the Projects list. You can view the Project details by clicking on the Project in the Project list.
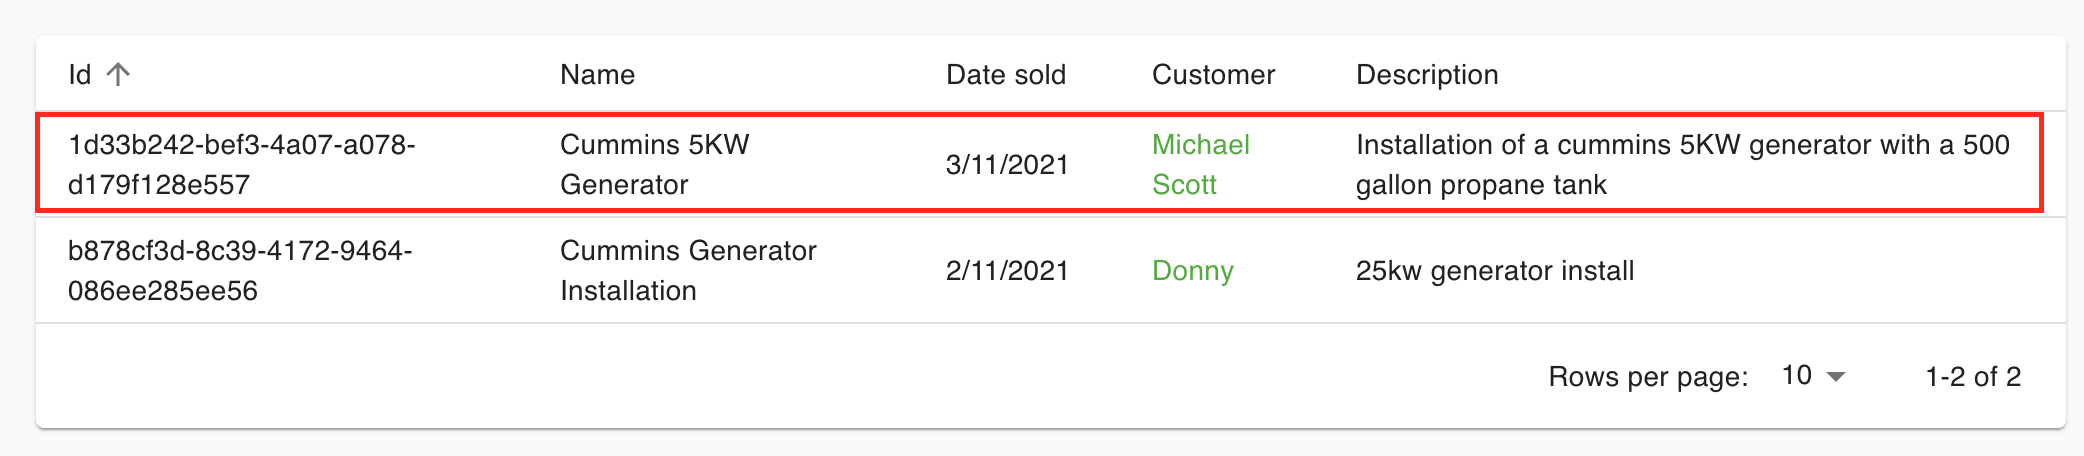 Details view:
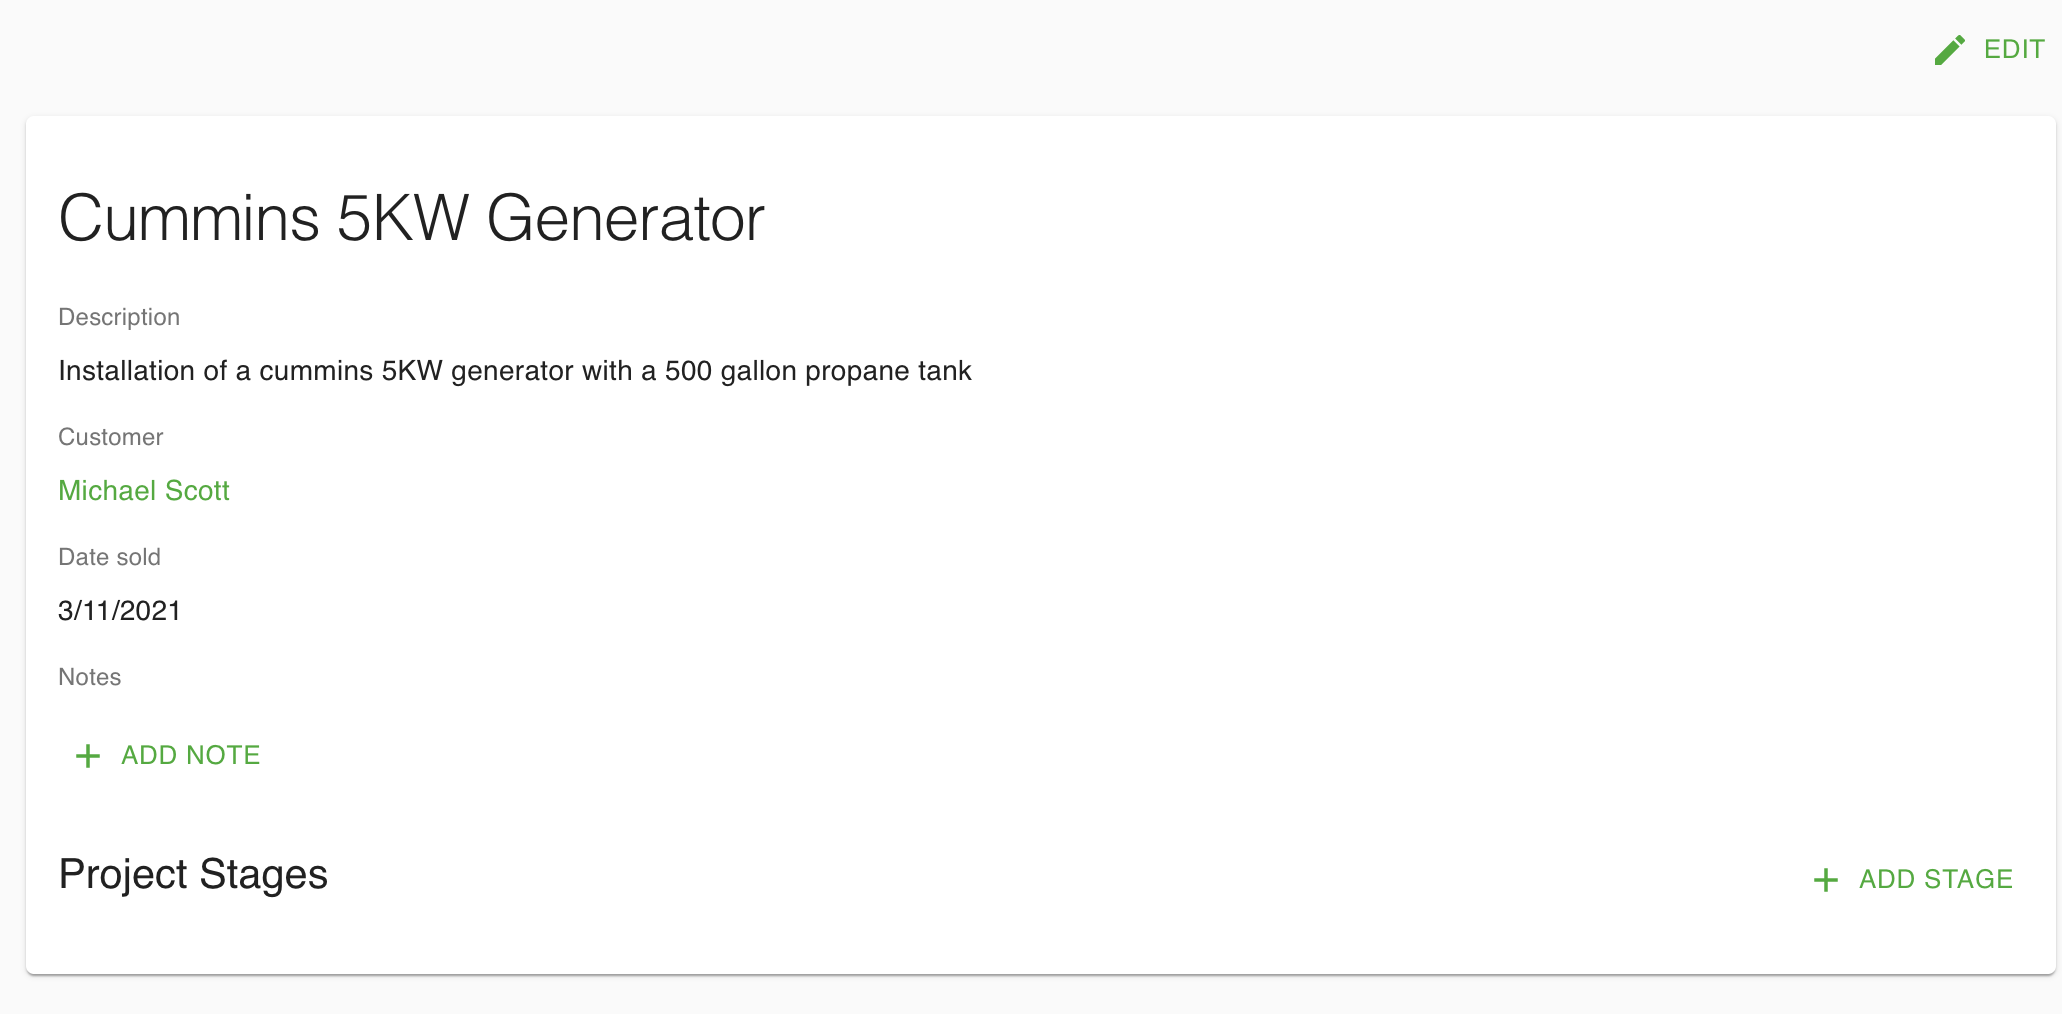
From the details view you can also edit the project, add notes, and add tasks.
Step 4 - Configure Tasks #
Now that you’ve created the Project you can start adding the tasks that you created in step 1.
- From the Project details view, click
ADD TASK

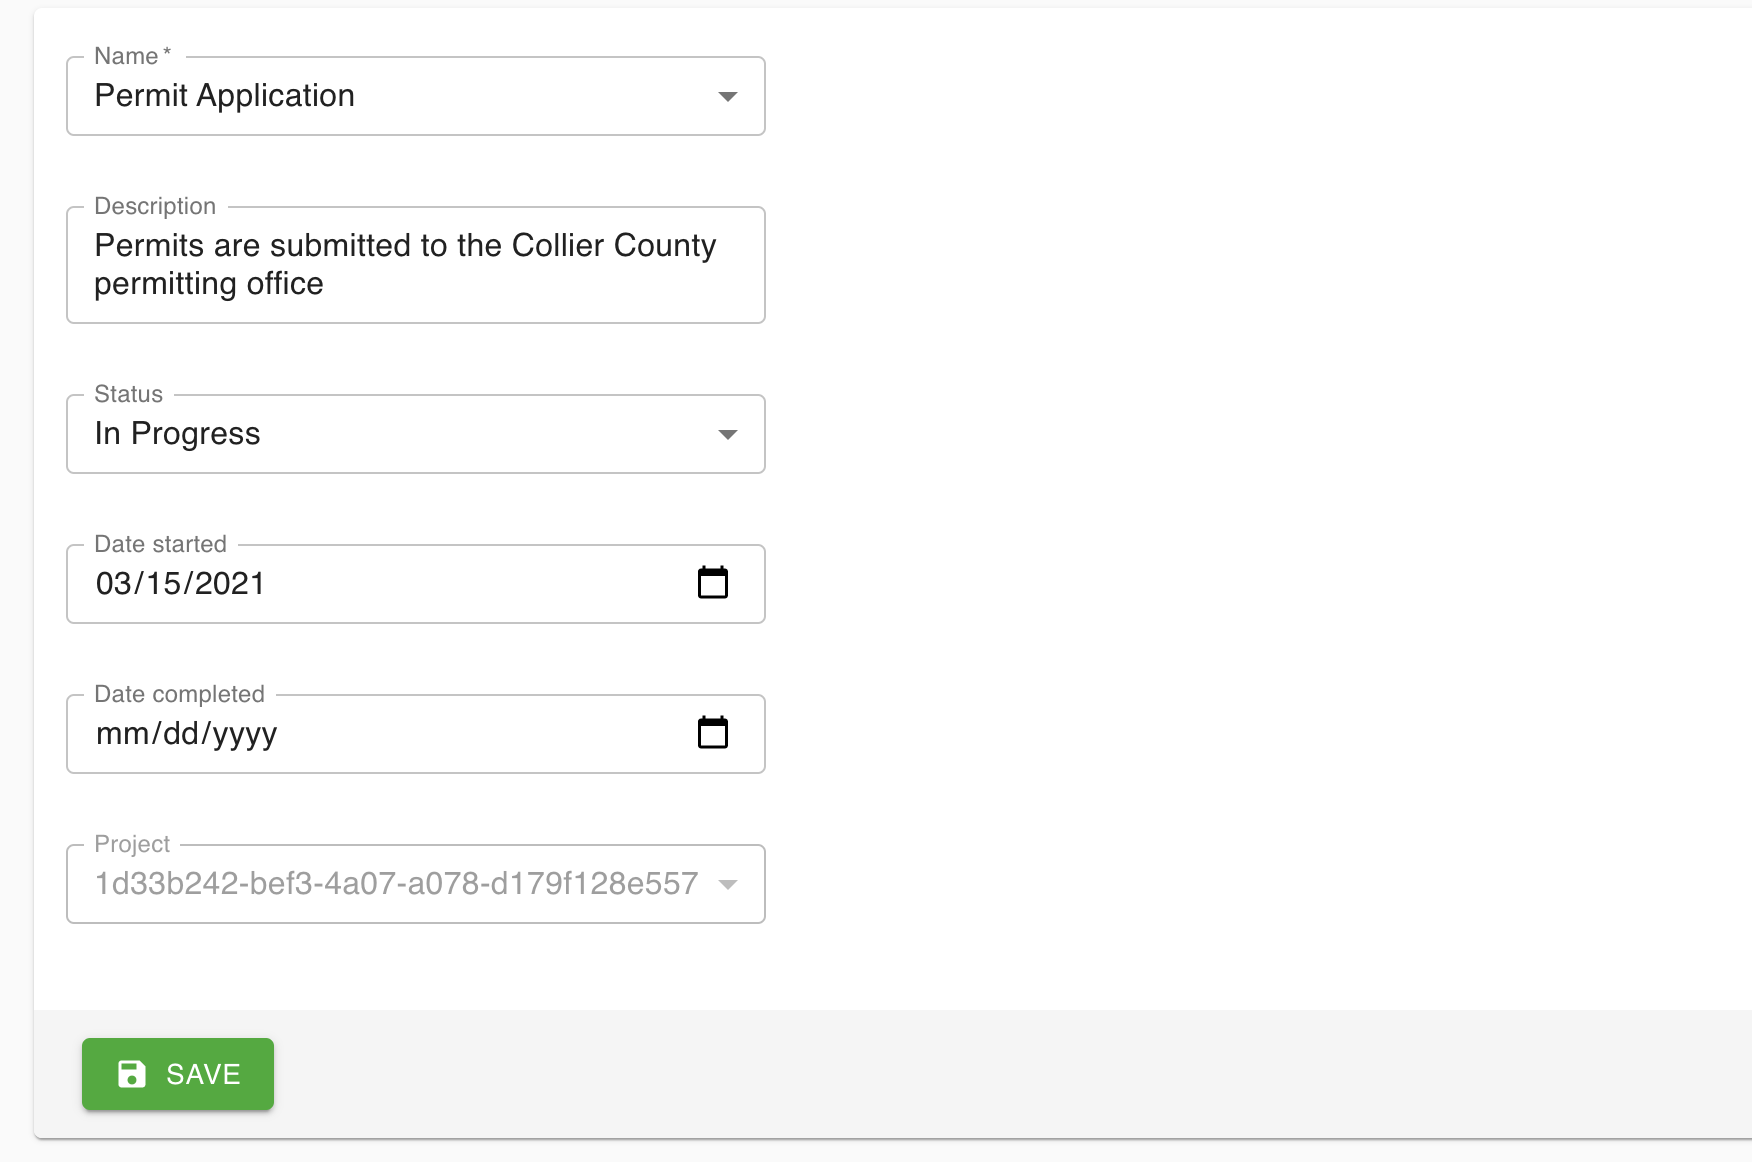
- Fill out the form with the Task information
Select the Task name from the Name dropdown
If you need to add a new Task, you will need to do it from the settings view from Step 1

Fill in remaining details for the Task. Here you can set information such as the status and the date started.
- You should now see the Task listed for the Project
- Repeat this step for any other Tasks for the Project
TIP
Create as many Tasks as possible. You can create Tasks before they are started by leaving the status asNot Started.
Step 5 - Update the Project #
You have now created a basic Project. As the Project progresses you should come back and make updates so that the Customer can stay up to date. Most commonly, you will be editing the Tasks to update the status and date started/completed.
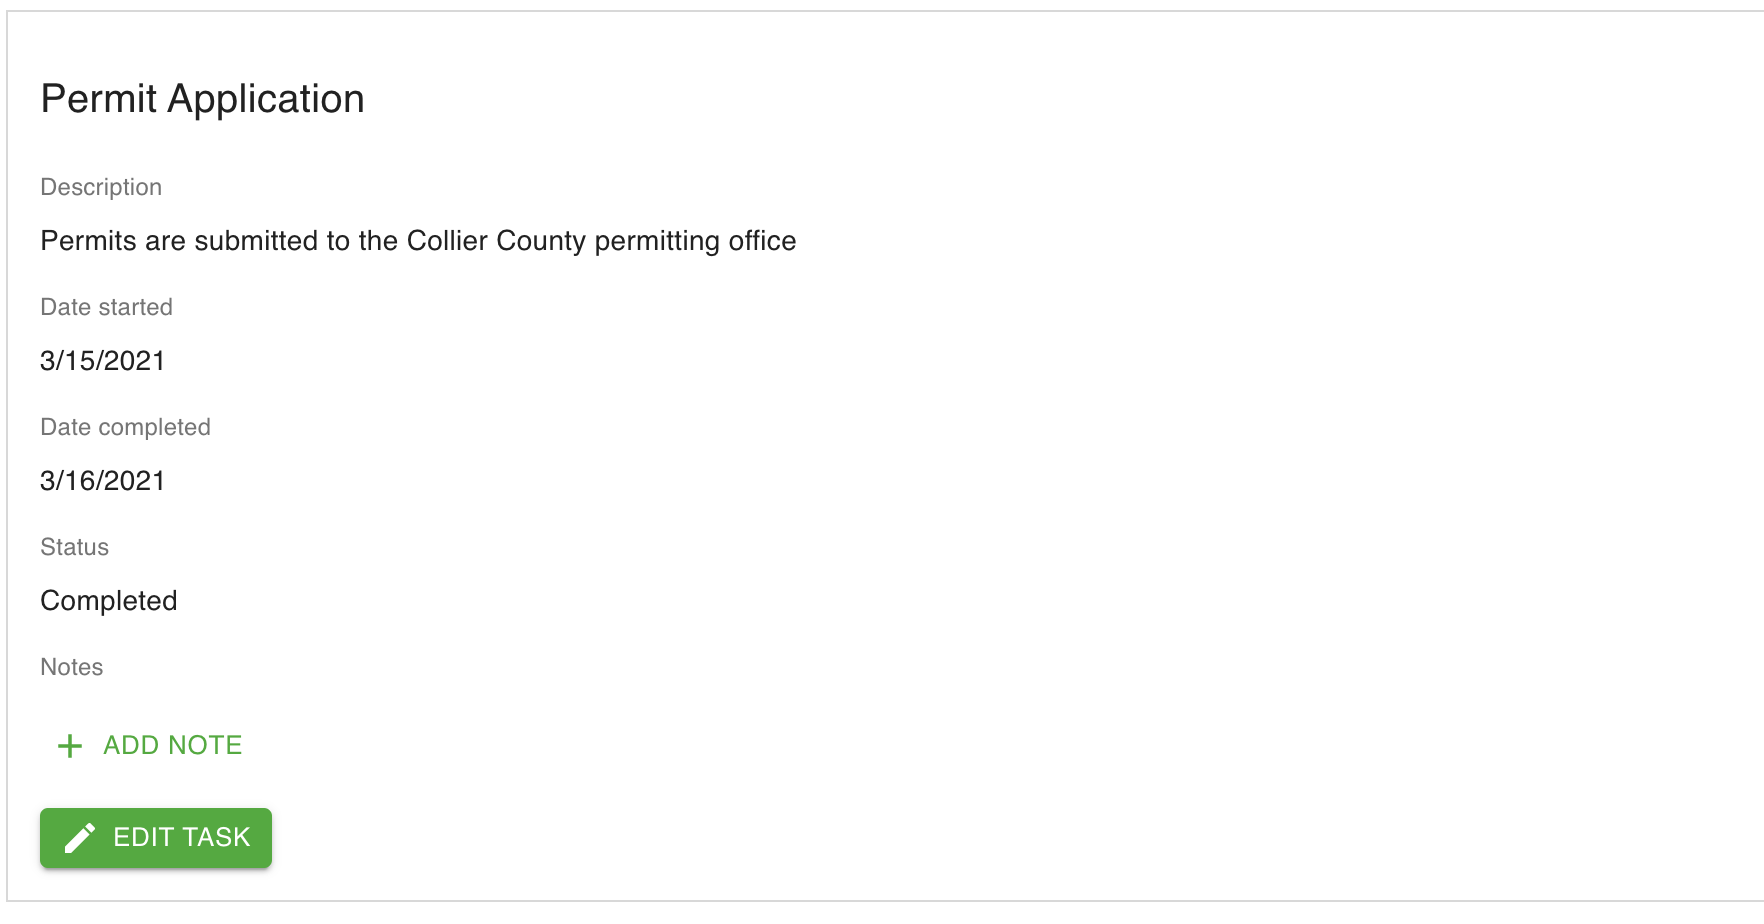
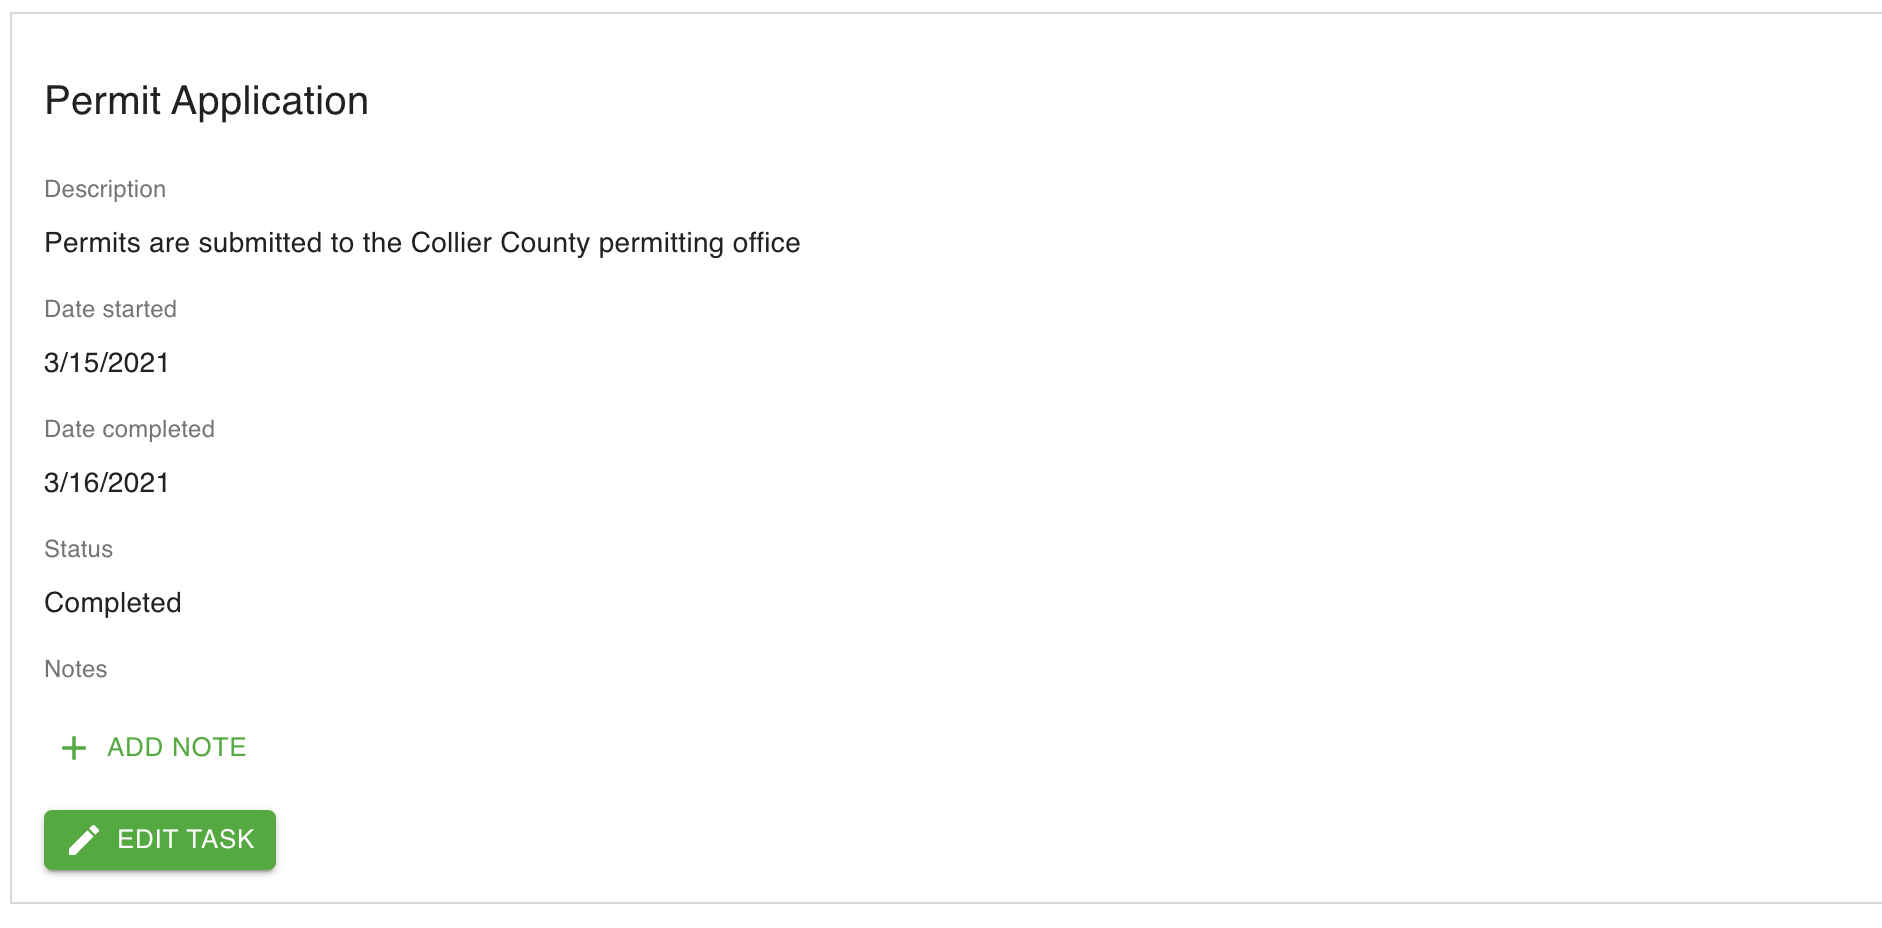
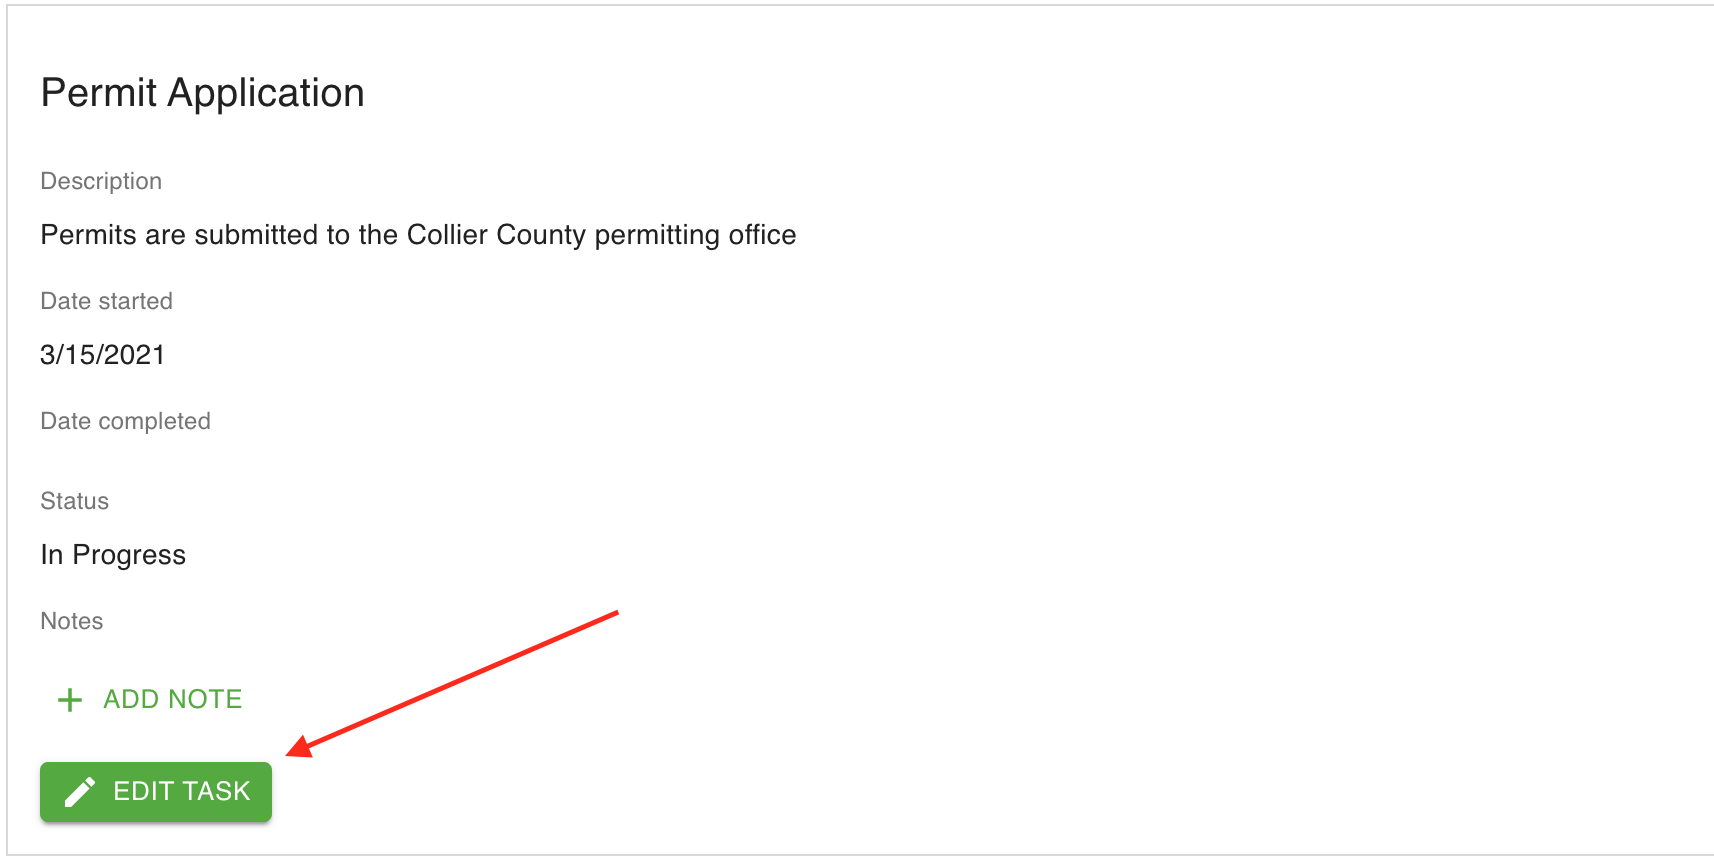
To edit a Task
- Click the
EDIT TASKbutton for the Task in the Project view:
- From here, make the updates and then click
SAVE
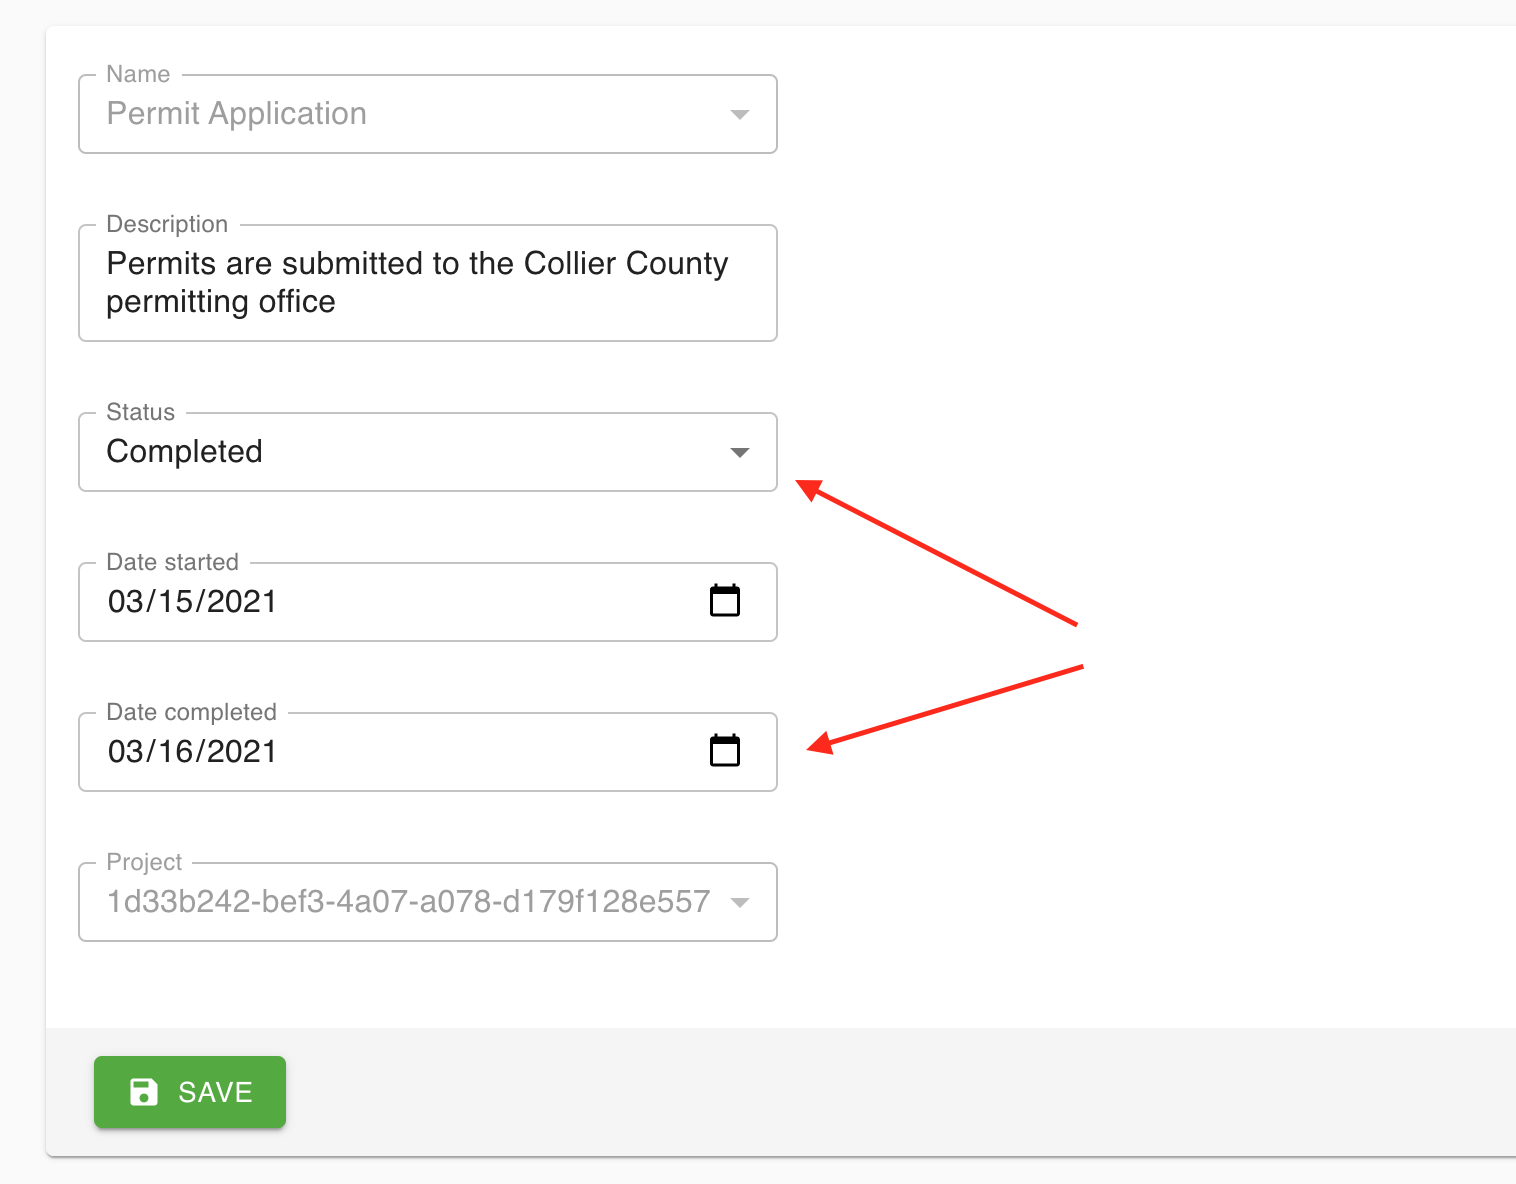
- The updated Task shown in the Project view will now be updated